This tutorial will cover how to render wireframe in Maya 2015 using Mental Ray. There are a number of other ways to render wireframe in Maya but this is my personal favorite and what I consider best.
To begin grab whatever asset or model you wish to render. I'll be using this Mac I made for an environment. Since it is still in its environment in this scene I have added it to a new render layer by selecting it and the post-it note and clicking 'Create new layer and assign selected objects' button above what is highlighted in the below screenshot. I named the layer 'Mac', so if that comes up again in this tutorial note that it is not because I am doing this on a Mac computer (although this tutorial will transfer between PC and Mac). If you asset is alone in its scene you don't need to do this.

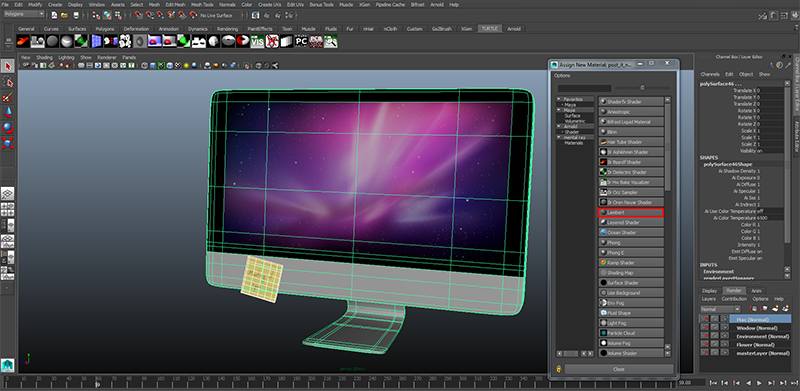
In the Lambert's Attribute Editor click on its Shader Attributes tab. From there click on the Mental Ray tab.

Then go to the Contours tab, and turn on Enable Contour Rendering. From there you can use the 'Colour' tab to choose the colour of the wireframe, and use the Width to change the width of the lines (I usually use around .6 but it's up to your preference).

Next go into your render settings and make sure you are using Mental Ray (and rendering on the right layer if you are using them). Then go to the Features tab and then Contours tab.

Hit Enable Contour Rendering in the Contours tab and then under the Drawn by Property Difference tab hit Around all poly faces.

Lastly, go to the Quality tab and hit Legacy Sampling Mode under the Sampling Mode options.

Then make a camera if you need one or render from perspective, add some lights, and hit render. This should render your wireframe! Keep in mind if your asset is on smooth mode it will show the extra edge loops that are normally invisible in the Maya viewport. Hence making your render look like it has more wireframe than it really does.
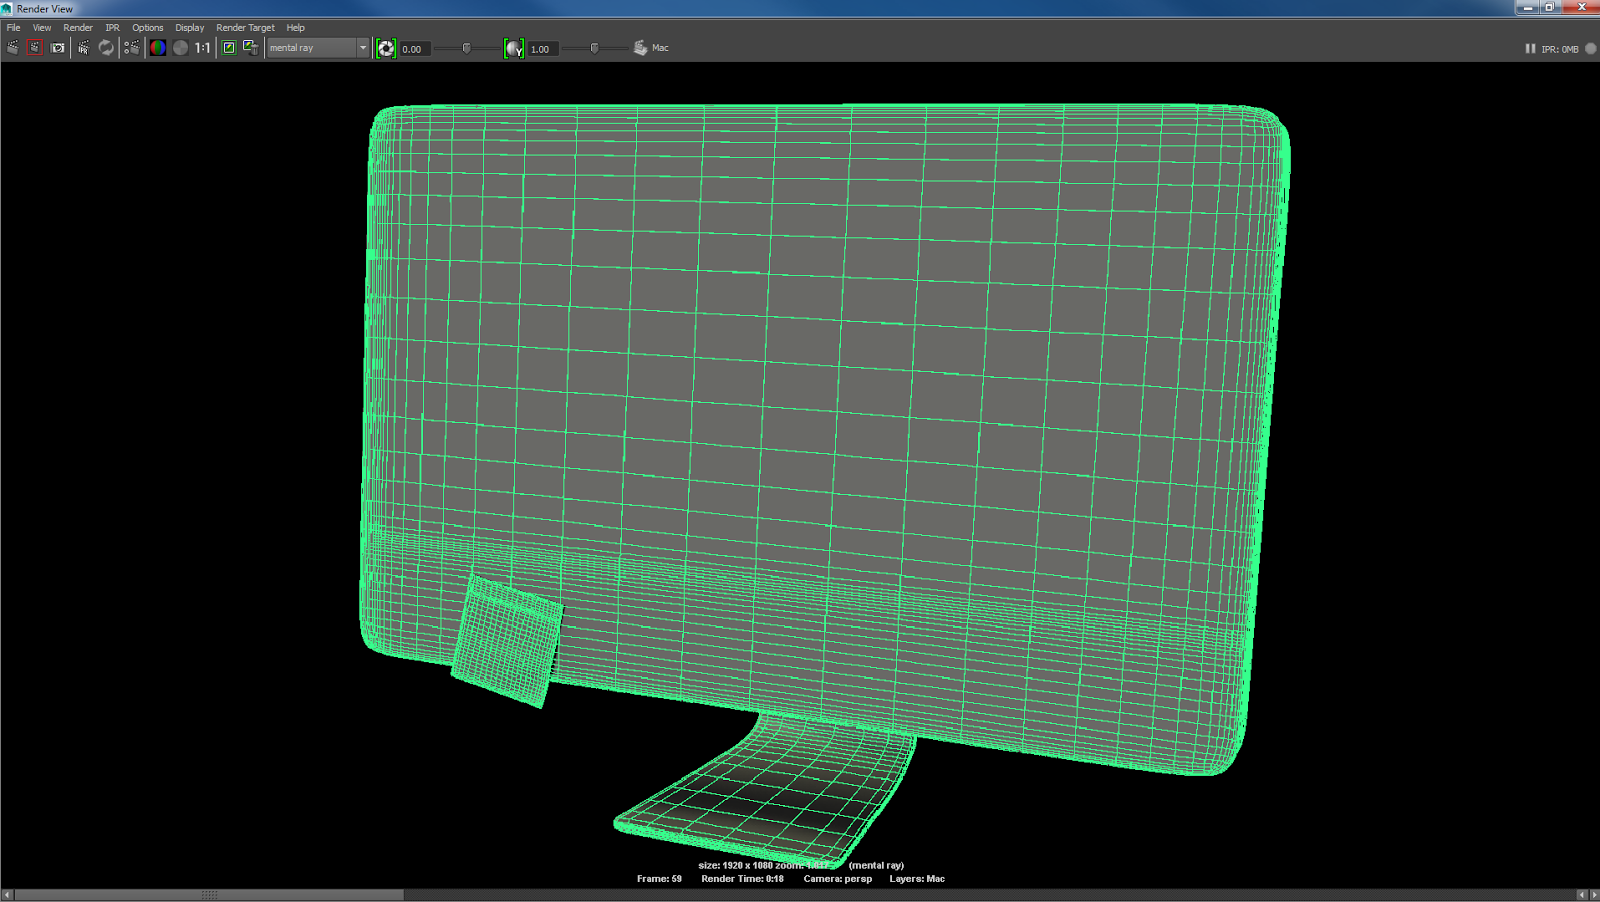
To fix this just take it off of smooth mode.

If you want to render just the wireframe without the Lambert (which is particularly useful as you can then composite over the Lambert renders with the wireframe renders in Photoshop / Premiere / Nuke so you can turn it off and on easily) hit Hide Source in the Render Settings.

Which removes the material and leaves you with just the wireframe.

And ta da! Save this out as a PNG and this will make the black transparent so it can be easily put over the Lambert or Material renders.
No comments:
Post a Comment